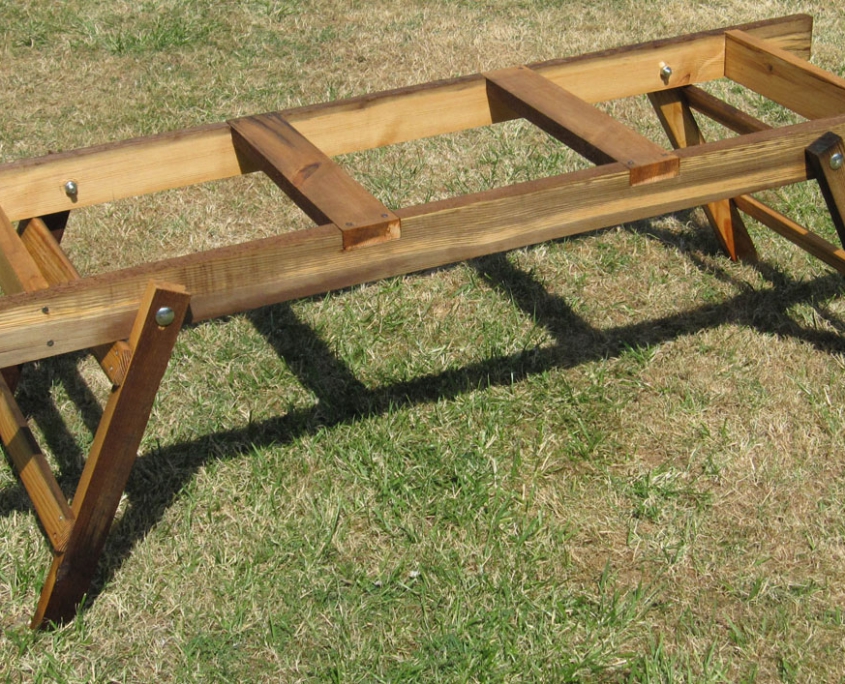
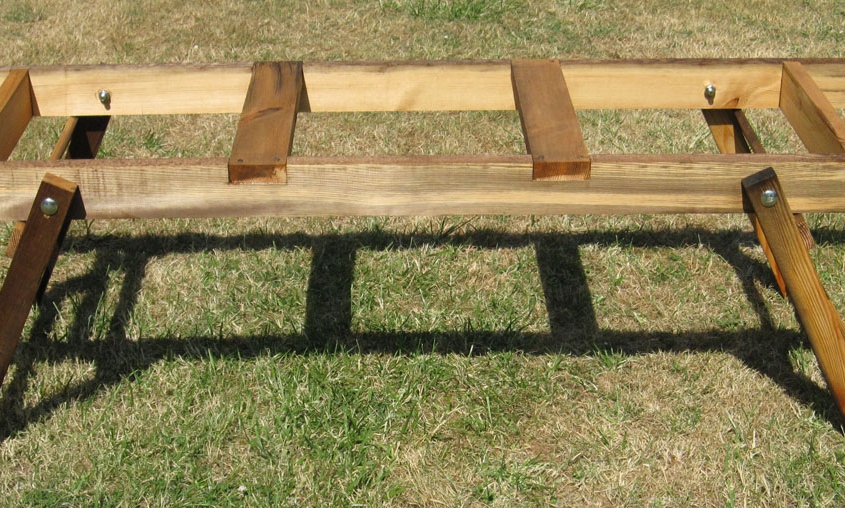
Rather than just use single hive stands I have made a number of double and triple hive stands. The key advantage of this design is that the stand can be folded flat for moving around. Also the gap between the 2 top sides can be used to hold a National frame during a colony inspection.
The timber for the stand can be any suitable softwood and if you can get it treated (sometimes referred to as tanalised) then it will make finishing easier.
The top carcase and legs are all constructed from 7.5cm x 2.5cm timber. The cross struts for the legs are 5.0cm x 2.5cm. So adjust the dimensions accordingly if you use other sizes of timber. The key dimension for supporting a frame during a colony inspection is the gap between the 2 top sides and this should be between 38cm to 40cm.
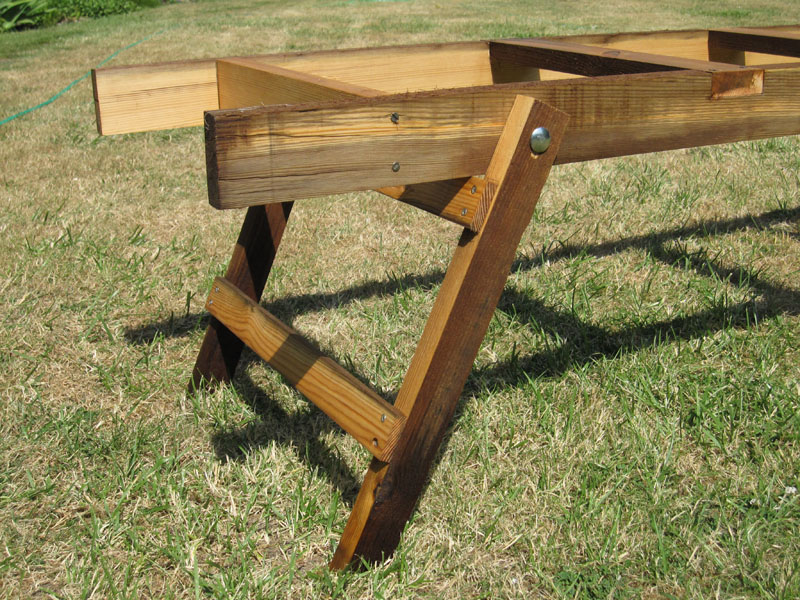
Simple joinery is all that is required to construct the carcase with PVA glue and screws, ideally 50mm long, to assemble the stand. The legs are attached to the sides with 75mm coach bolts.
- Construction technique
1) Make up the top carcase:
a. Cut sides and cross supports to length
b. Cut 1.0 cm rebates for the 2 outer cross supports into the sides
c. Cut 7.5cm x 2.5 cm recesses into the top of the sides for the 2 inner cross supports. (Note: outer supports are 40cm in length and inner supports span the full width and are 44cm long.)
d. Assemble with screws and PVA glue
2) Make up the legs:
a. Cut legs to length with one side shorter than the other by 2.5cm to give a bevel which will ensure the stand is level when the legs are fully extended.
b. Drill holes for coach bolts 3cm down from the top of each leg
c. Drill corresponding holes into the sides on the carcass. Drill the holes at 4.5cm from the top of the side so that the top of the legs doesn’t protrude above top of the carcass. If the legs do protrude just cut off the small amount so that you can move the hives freely along the stand.
3) Fix and screw the lower cross strut in place for each pair of legs.
4) When assembled the top carcass rests on the upper cross strut to lock the stand in position. So the only tricky part is to work out the right position for the upper strut. Easiest way to do this is to assemble the stand, lightly tighten the coach bolts and adjust the angle of the legs. When you are happy the stand is level mark the position on the legs for the upper strut. Then fold the stand flat to drill and screw the top struts into place.
- Finishing
Once the glue has dried you can treat the timber with a suitable preservative such as Cuprinol. To give the maximum protection possible to the bottom of the legs let them stand in Cuprinol for 24 hours.
The distance from the top of the stand to the floor is approximately 47cms which I find is the right height for me to inspect my colonies. If you want it to be higher I would suggest making the legs longer rather than adjusting the angle you fold the legs out to.
The plan is for a stand that can take 3 National hives with flat roofs. If you use the wider gabled roofs then the stand length should be increased from 160cm to 190cm. If you only want to support 2 hives then the length can be reduced to 120cms and you should only need 3 supporting bars.
![]() Download Plans for Hive Stand – File size: 299.7 KB
Download Plans for Hive Stand – File size: 299.7 KB


